By Mike Mezeul II
Shooting in slow motion is a fantastic way for a videographer to bring a scene to life. From adding drama, conveying emotion, creating depth, revealing detail, and more, utilizing slow motion is a technique that you should consider for your next film project. But is it as easy as it sounds? Just simply shoot slow-motion? Well yes and no. There are definitely a few things that you should take mental note of for settings within your camera, the gear you’ll need, and your vision for the scene.
Before we get going though, let’s quickly understand what slow motion is. Slow motion is essentially the slowing down of a moment in time so that the action appears slower than in real life. This can be accomplished by either filming the moment in slow-motion or using a playback method to slow down the moment. For this article, we will aim to discuss how to film the moment in slow motion and then how to complete the process in post-processing.
Frames Per Second
Understanding frames per second (fps) is key to understanding how to shoot video. Most videos are shot at either 24fps or 30fps. This means that essentially (i.e. 30fps), it takes 30 single images shot in succession to make up one second of video. A good metaphor to this is thinking about a flip book. As you flip through it, it creates motion, the same technique applies for video. The more images you can capture to create a higher frame rate, the more you can slow down your video in post. It’s extremely important to know that you really want to aim to get your frame rates correct while shooting. You can technically slow down video that does not have a high frame rate in post-processing, but the video will look choppy and won’t present itself well. Starting at 60fps, you can begin slowing down motion. At 60fps, you can slow a video down by 50%. At 120fps, you can slow video down to 25% of its original motion on a 30fps timeline.
Setting FPS & Shutter Speed
When going through your “Video Recording Menu”, scroll down to “Frame size/frame rate” and click “OK.” It is in this menu where you can choose to shoot from 24fps to 120fps. Both the Z 9 and Z 8 camera bodies have the capability of shooting up to 8k 60fps and 4k 120fps.
For your shutter speed, you’ll want to try and keep your settings to nearly double that of your desired fps. For example, if you’re shooting at 120fps, you will want to aim to have your shutter speed close to 1/240 second. For scenes that are shot at 60fps, you will want to aim for 1/120 second. Now you don’t have to be exactly precise with doubling the fps, but the closer you can get to that, the smoother and sharper your slow motion will be.
Gear You May Need
Tripod or Gimbal – The goal with slow motion is to create a captivating moment that draws your audience into the scene. Having a shaky video doesn’t necessarily achieve that as the slower the motion, the more noticeable camera shake becomes. Try your best to utilize a tripod, monopod, or gimbal for shots.
Neutral Density Filter – A three or six stop neutral density filter is a great tool to have handy if you’re shooting in an extremely bright environment. This will allow you to easily cut out “x” amount of stops of light to reach your desired shutter speeds.
Additional Lighting – With faster frame rates, less light will pass through your shutter, so contrary to the tip above, you will need a way to light your subject if in a dark environment.
Choosing the Right Scene
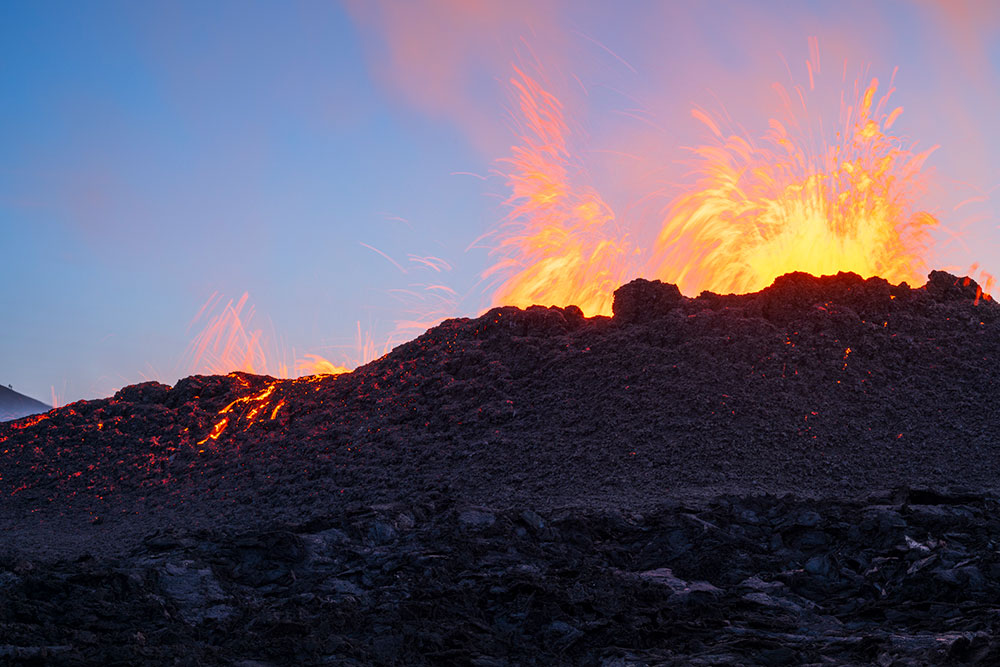
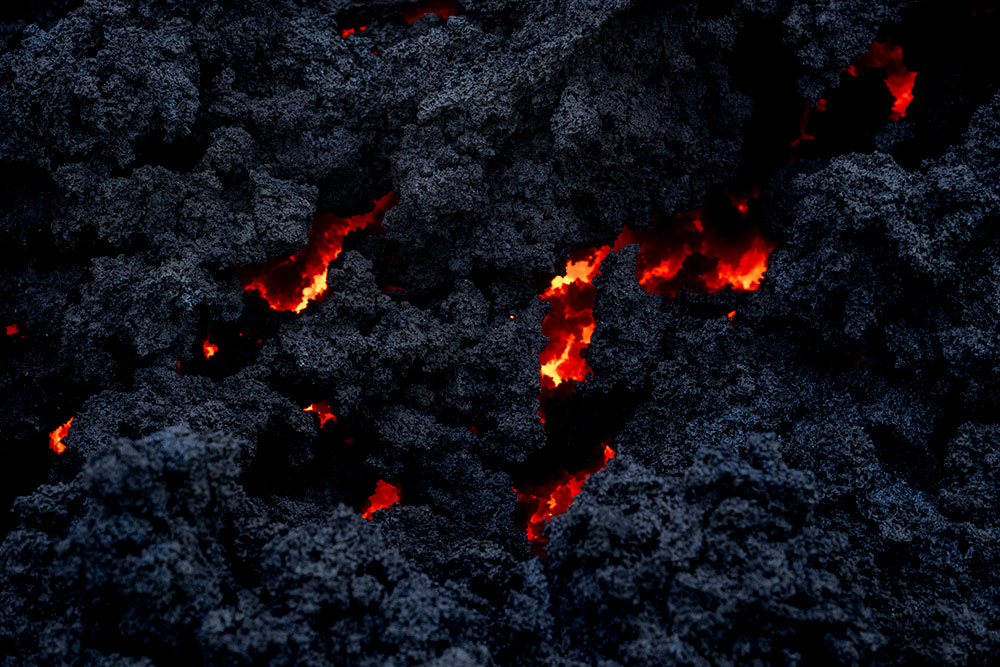
Not all scenes are created equally, so thus not all scenes require slow motion. When trying to decide what fps you should use, first ask yourself what the moment is showing you. For example, scenes where you are trying to show the raw sensation of an athlete winning a championship (emotion), fountains of lava shooting up into the air (detail), or gigantic waves crashing along the shoreline (power), a 60fps or 120fps frame rate may be perfect to slow the scene and allow your audience to really indulge in it. When it comes to capturing small movements like the wings of a hummingbird fluttering away or extending the drama of a rather quick scene like a raindrop falling into a puddle, slow motion can be a wonderful way to document these moments as well. The key words here are “slow motion”, so if there isn’t much motion within the scene in the first place, there is no point in slowing it down.
Editing
Once you’ve shot your footage you won’t be able to see the video playback as slow motion in-camera. You’ll need to take your media into an editing program like DaVinci Resolve, Adobe After Effects or Apple Final Cut Pro to just name a few. Here you will be able to retime your footage to your desired speed, color grade it, and sync it to music.
Bonus Tip!
Shooting high fps scenes results in large file sizes, so make sure you have a large capacity CFexpress or SD Card that can handle the files and the required read/write speed.
Mike Mezeul II
Mike Mezeul II is a self-proclaimed nerd for everything nature, Mike’s life journey has been dedicated to capturing the beauty of the world’s most powerful and breathtaking landscapes. Mike is a Nikon Ambassador and educator, sharing his passion for creating images and telling stories through leading workshops across the globe.
Check out Mike on Instagram.
View Mike’s website at mikemezphotography.com.